Welcome, baking enthusiasts and flavor aficionados! If you've ever marveled at the rich aroma and delicate flavor of pure vanilla extract in your baked goods, you'll be thrilled to learn that you can easily create your own at home. This step-by-step guide will walk you through the process of making homemade vanilla extract using vanilla beans. Get ready to unlock the secrets of this coveted ingredient and elevate your baking to new heights!
Step 1: Gather Your Ingredients and Equipment Before diving into the vanilla-making adventure, ensure you have all the necessary ingredients and equipment on hand:
Ingredients:
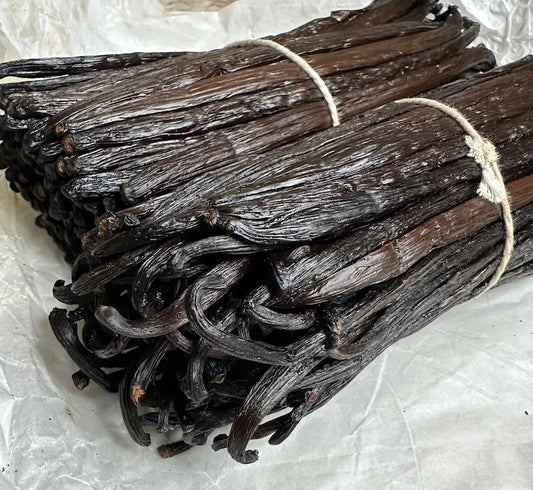
- High-quality vanilla beans (preferably Madagascar or Tahitian)
- High-proof alcohol (such as vodka, rum, or bourbon)
Equipment:
- Glass bottles or jars with tight-fitting lids
- Sharp knife or scissors
- Cutting board
- Funnel (optional)
- Labels and marker
Step 2: Choose Your Vanilla Beans Selecting the right vanilla beans is crucial for a flavorful extract. Look for plump, moist beans with a glossy appearance. Madagascar vanilla beans are known for their classic, sweet flavor with hints of caramel and chocolate, while Tahitian beans offer floral and fruity notes. Choose according to your preference or mix varieties for a complex flavor profile.
Step 3: Prepare the Vanilla Beans Using a sharp knife or scissors, carefully split each vanilla bean lengthwise, leaving about an inch uncut at one end. This step helps expose the flavorful seeds inside the beans, enhancing the extraction process.
Step 4: Place Beans in Bottles Insert the prepared vanilla beans into clean glass bottles or jars. Depending on the size of your containers, you may need to cut the beans to fit. Aim for a ratio of 5-6 beans per 1 cup (240 ml) of alcohol for a robust vanilla flavor.
Step 5: Add Alcohol Pour the high-proof alcohol of your choice over the vanilla beans, ensuring they are completely submerged. Use a funnel if necessary to avoid spills. Seal the bottles tightly with lids.
Step 6: Infuse and Age Store the sealed bottles in a cool, dark place away from direct sunlight. Allow the vanilla beans to infuse into the alcohol for at least 6-8 weeks, shaking the bottles gently every week to agitate the contents and aid in extraction. The longer the infusion period, the richer and more complex the flavor will become.
Step 7: Strain and Bottle After the aging period, strain the vanilla extract through a fine-mesh sieve or cheesecloth to remove the vanilla bean remnants and any impurities. Transfer the strained extract into clean glass bottles or jars for storage.
Step 8: Label and Enjoy Label your homemade vanilla extract with the date of preparation and the type of vanilla beans used. Store it in a cool, dark place, and enjoy using it in your favorite recipes, from cakes and cookies to custards and ice creams. Homemade vanilla extract makes a delightful gift for fellow baking enthusiasts, too!
Congratulations! You've successfully unlocked the secrets of making homemade vanilla extract from vanilla beans. With just a few simple steps and a bit of patience, you can elevate your baking creations with the exquisite flavor of pure vanilla. Get creative, experiment with different types of vanilla beans and alcohol, and savor the delicious results. Happy baking!